
Martenitsas With Your Child, Not Instead of Your Child: How to Let Them Tie the Knot
A practical way to make martenitsas and martenitsa crafts together with a 6-8 year old, so that they actually work with their own hands instead of just watching. Includes two detailed activities, a common mistake, and short answers to the questions parents ask every year.
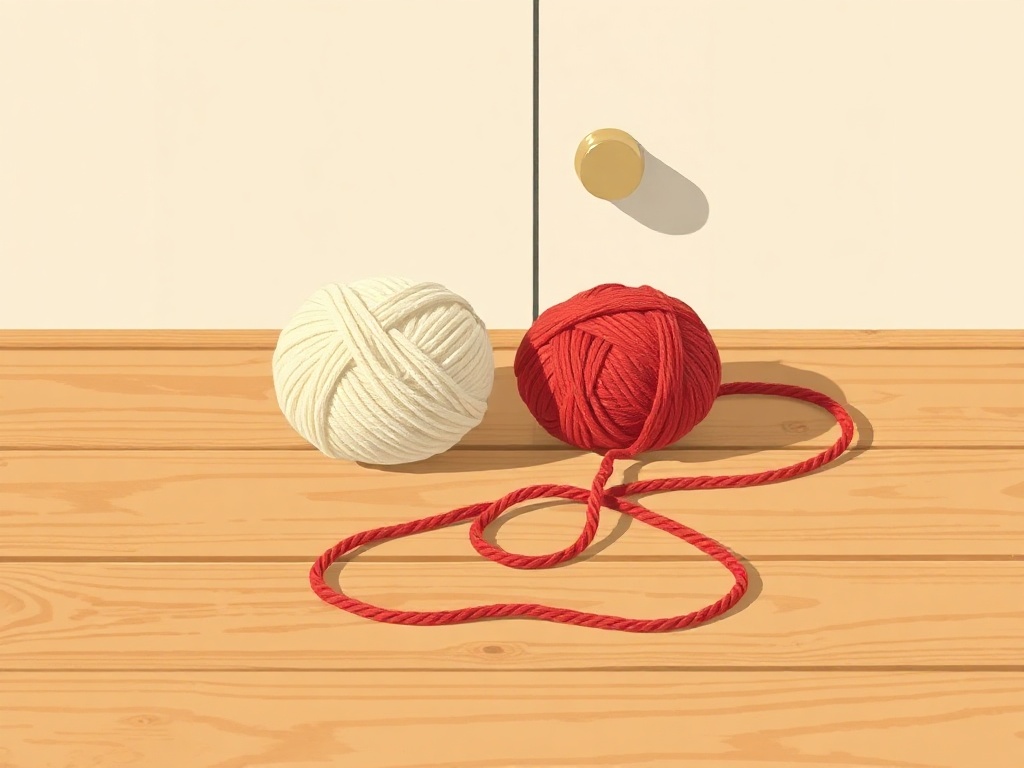
It's the end of February. On the table there's a ball of white yarn and a ball of red yarn, the child has twisted something that looks more like a washing line than a martenitsa, and right at that moment the adult's hand reaches over to "fix it". This is the moment that decides whether you end up with a martenitsa made by the child, or a martenitsa made in front of the child.
This article is for children between 6 and 8 — an age when fingers can already manage twisting and a simple knot, but patience lasts about twenty minutes, not an hour. Younger children will need a different approach, and by ten the same steps already feel boring.
Why "making it look nice" is the wrong goal
Every March, identical neat little martenitsas with perfectly symmetrical pompoms appear on desks and fridges. Some of them were made by an adult who started with "show me, I'll help" and ended up finishing the whole thing alone. The child stands to the side, handing over threads. Then they take to school something they can't say a single word about, because they didn't actually make it.
The whole point of a martenitsa is in the story: who you're giving it to, and why. If the child can say "this one's for grandma, I twisted the threads myself, it went a bit crooked at the bottom" — the job is done. The crooked bit at the bottom is proof, not a flaw.
The practical takeaway is simple: the adult handles anything dangerous or fiddly — cutting with sharp scissors, measuring lengths, untangling a knotted ball of yarn. The child handles everything else, including the right to get it wrong.
How to divide the work before you sit down at the table
- Measure and cut the threads in advance — this is the single most common point where the adult ends up taking over the activity.
- Put everything out on the table before you call the child over: waiting between steps eats up all of their patience.
- Say up front how many martenitsas you're making. "Three — for grandma, for Aunt Mary, and for you" works far better than "until we get fed up".
- Don't fix things while the child is working. If something unravels, show them how to sort it out and hand the thread straight back to them.
- Set one ball of yarn aside for a second attempt — the first martenitsa is almost always a practice run.
Twisted two-thread martenitsa — the first one a child can make alone
You'll need white and red yarn (ordinary knitting yarn works fine — one ball of each colour is enough for dozens of martenitsas and costs around 2-3 €), scissors for the adult, and a chair by a table. Measure one white and one red thread, each as long as the child's outstretched arms, so there's plenty to spare. Tie the two ends together in a single knot and hook the knot over a door handle, or have someone else hold it. The child takes the other end and starts twisting both threads in one direction — always the same direction, that's the whole trick. Keep twisting until the thread starts curling and kinking on its own. Then pinch the middle, fold it in half, and let go: the two halves wind around each other by themselves. Finish with a knot at the end. Time: 15-20 minutes for the first one, then about 5 minutes each after that. Age: 6-8, though for six-year-olds it helps to demonstrate the twisting first on a thicker cord so they can see what's happening. Count it a success if the child twisted the threads on their own, without your hand over theirs, and can explain to someone else why it only twists in one direction.
If the thread untwists again — that's not a failure, it's about the most useful thing that can happen. The child sees with their own eyes what happens when you let go of a stretched thread, and holds it tighter the second time round. Just say: "Look what happened. Try again, but don't let go of the end."
Pizho and Penda pompom figures — for children who can already tie a knot
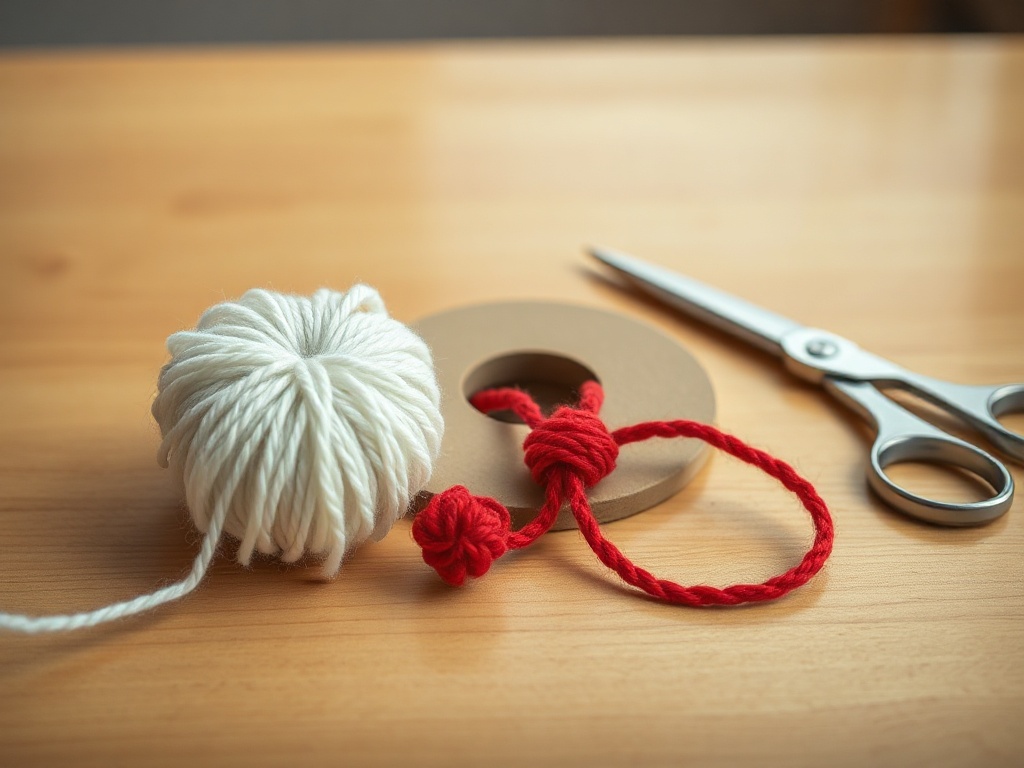
You'll need the same yarn, cardboard from a cereal box, scissors, and glue. Cut two doughnut-shaped rings out of the cardboard, with a hole in the middle — this is a job for the adult, about 5 minutes. The child winds yarn around the cardboard ring until the hole is full, then the adult snips around the edge while the child pulls a knot tight through the middle and fluffs up the little ball. One white pompom and one red pompom, tied onto a shared thread, are now Pizho and Penda. Time: 25-30 minutes for both figures, best split across two days. Age: 7-8 — winding takes more stamina than twisting. Success is when the child has pulled the knot through the middle tight enough that the pompom doesn't fall apart as it's fluffed, and made the second pompom without asking what comes next.
The common mistake: turning the activity into a production line
A parent decides that, since they're sitting down anyway, they might as well make martenitsas for the whole class — twenty-two of them. The child happily makes the first three. From the fourth one on they're twisting mechanically, then they stop, and then the adult finishes the remaining nineteen while the child watches cartoons in the other room.
It doesn't work, because it turns handwork into a quota-driven chore. The child remembers the tiredness, not the skill. Three martenitsas the child made from start to finish are worth more than twenty that passed through your hands — both to the child and to the person receiving them. If you genuinely need martenitsas for a lot of people, spread them over three days in small batches, or make one shared bracelet for the whole class instead.
A second, related mistake: doing this in the evening, after a school day and homework. At 8:30pm, no seven-year-old wants to twist thread. A Saturday morning gets far more done.
"This one's for you. I made it. It went crooked here because I let go of the thread." — that sentence is worth more than the neatest martenitsa there is.
What to do with the martenitsas afterwards
There's a natural next step here that often gets skipped. Let the child decide, on their own, who gets each martenitsa and why, and write it down on a slip of paper — one sentence per person. "For grandpa, because he showed me how to tie a knot." Next year, when you pull that slip out again, you'll have something worth more than a photo.
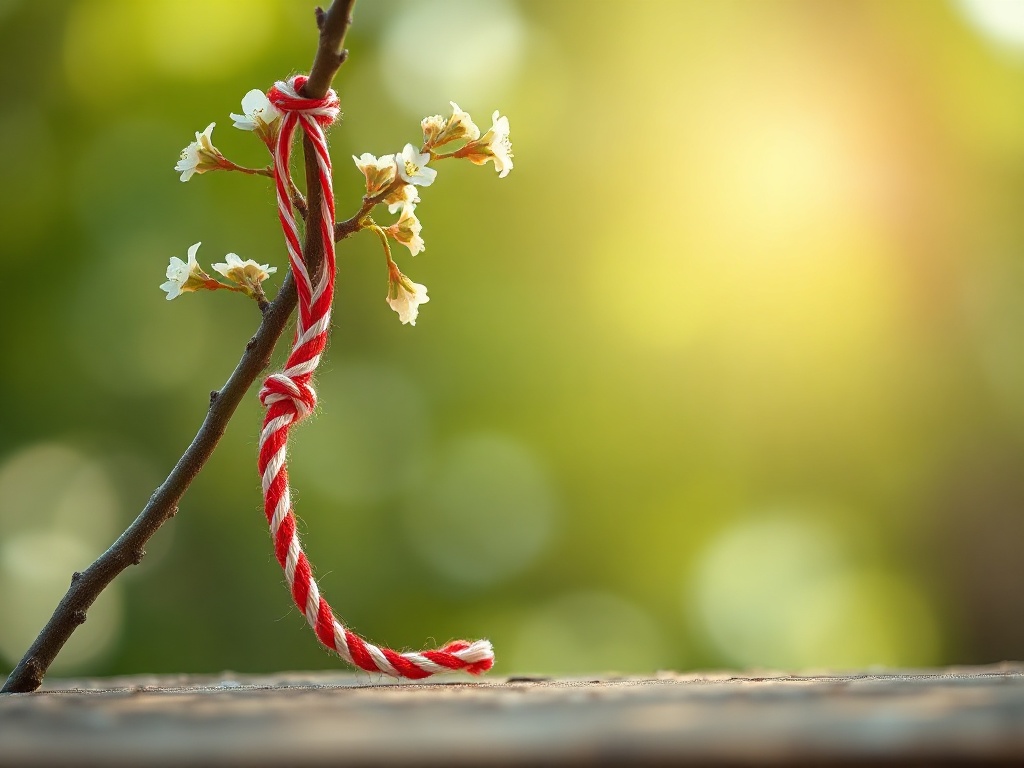
As for taking them off: tradition here has you tie the martenitsa to a tree or leave it under a stone once you spot a blossoming tree or a stork. Turn this into a proper walk — let the child search, let the child choose the tree. Don't point it out for them.
How to tell the activity went well
- The child can explain the steps to someone else without you adding anything.
- There's at least one martenitsa that's entirely their own work, knot included.
- They know who they're giving it to before you even ask.
- They want to make another one — today or tomorrow, it doesn't matter.
- The first failed attempt doesn't get thrown away — it sits around somewhere as "the one that came undone".
And one last thing: keep one martenitsa from this year in an envelope with the date on it. Three years from now, the difference in your child's fingers will show more clearly than any note in a school diary.